
GrandMA 3 – Programming tools
Layout View
In this section we will have a look at some tools which might help you with your programming workflow. We will start with the Layout View.
The Layout View is a freely definable workspace to display fixtures, groups, sequences and many more objects on a canvas.
Multiple Layouts can be stored in a Layout Pool. Please open a Layout View with a small Layout Pool underneath.
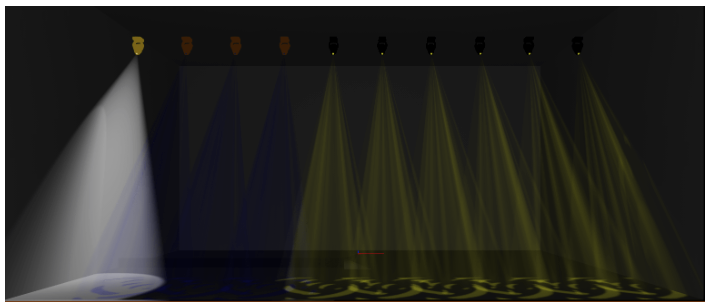
Let’s have a look at the video to see how we can create a nice and simple Layout.
Highlight
The keys we need for the following functions are placed on the left of the command section of the console (see the picture at the right).
Press the [Highlt] key to enter the Highlight mode.
When Highlight is active, all selected Fixtures will receive Highlight values. This is useful to identify fixtures in your rig or to make them brighter to adjust positions.
Hightlight values are defined in the Fixture Type. Additionally, each Fixture in you show can hold individual Highlight values for its attributes. To store your current Programmer content as Highlight values, simply enter the command Store Highlight – it works the same way as storing Presets or Cues.
Lowlight
Please press [MA] + [Highlt] to activate Lowlight.
Lowlight is an addition to the Highlight mode. Imagine you have a Fixture selection and you activate Highlight. After that you use Next and Prev to step through your selection, you have now created a sub selection of Fixtures.
All Fixtures which are not selected in this sub selection will get a Lowlight value. This is extremely useful to distinguish between the Fixtures in a sub selection when using Highlight.
By default, there are no Lowlight values in Fixture Types, but you can easily add them yourself: Just select all your Fixtures, put the Dimmer at 50% and turn them blue. Now enter [Store] [MA]+[Highlt] to store your Programmer as Lowlight values.
Blind
The Blind mode is perfect to program or to change a look without sending the Programmer values to the output.
Please press the Blind key.
All active values in the Programmer will be hidden from the output now. That means you can program some new looks, edit Presets or change Cues without making it visible for the audience.
Freeze
Freeze is a function to give your Programmer a higher priority than your Playbacks.
Please have a look at this video to see how it works with a simple example.
Fixture At Fixture
You already know the At command to give values to your Fixtures:
Fixture 101 At 50 Please
Instead of specifying a value or a Preset after At, you can also specify a Fixture (or multiple Fixtures, or a Group):
Fixture 102 At Fixture 101 Please
Now Fixture 102 will do exactly the same as Fixture 101.
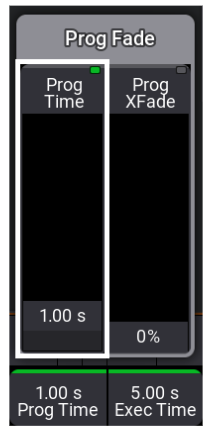
Prog Time and Exec Time
Prog Time and Exec Time are settings that will override your timings.
- Prog Time affects the timings of your Programmer values
- Exec Time affects the timings of your Playback values
You can find both settings in the top-right corner of your Encoder bar.
Activating Prog Time will fade all actions in your Programmer using the given time: Putting Fixtures at values, calling Presets or clearing the Programmer. Some examples where Prog Time can be useful:
- You want to smoothly fade in some values in a live situation
- You want to protect your tungsten fixtures when putting them At Full
- You want to prevent your rig from swinging when calling positions
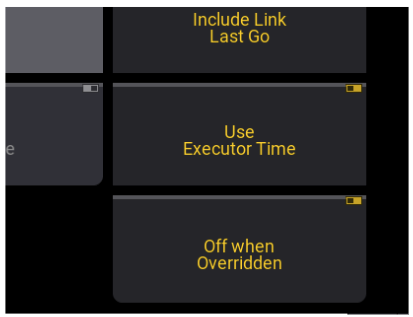
Exec Time
Exec Time will override your originally programmed CueFade timings in your Sequences and sets the delay timings to zero. This means you can use the Exec Time to define a different timing for your Playbacks on the fly.